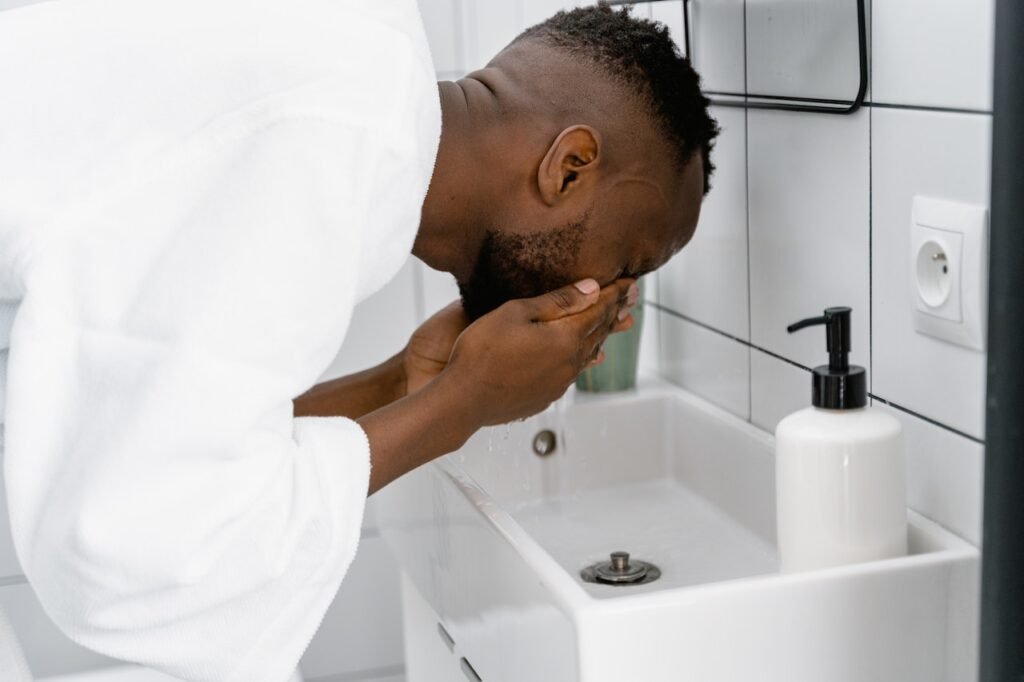
Cleansing is the foundation of any skincare routine, helping to remove impurities, unclog pores, and promote a healthy complexion. In this comprehensive guide, we’ll walk you through the step-by-step process of cleansing, providing valuable tips and insights. Get ready to discover the transformative power of cleansing and experience the radiance of clean, refreshed skin. If you haven’t yet, take a look at the RUWA Foam and Glow Cleanser, enriched with AHA, BHA, and PHA.
Step 1: Prepare
Before you begin, gather everything you need: Face Cleanser, lukewarm water, and a soft facial cloth or cleansing brush.
Step 2: Remove Makeup
If you’re wearing makeup, start by using a gentle makeup remover or cleansing oil to dissolve and remove the product. This step ensures a thorough cleanse and prevents leftover makeup from clogging your pores. There is a lot to be said for double cleansing.
Step 3: Wet Your Face
Splash your face with lukewarm water to moisten the skin, preparing it for the cleansing process.
Step 4: Dispense the Cleanser
Squeeze a small amount of RUWA of your cleanser of choice onto your palm. Use the required amount. Generally a little goes a long way.
Step 5: Massage and Cleanse
Apply the cleanser to your face, using gentle, circular motions. Massage it into your skin for about 30 to 60 seconds, paying attention to areas prone to congestion or oiliness. You can use a cleansing cloth or brush; be sure to be gentle and not aggravate your skin.
Note: The powerful combination of AHA, BHA, and PHA in our RUWA Cleanser works for you to exfoliate; remove dead skin cells, unclog pores, and promote a clearer complexion.
Step 6: Rinse Thoroughly
Splash your face with lukewarm water to remove the cleanser completely. Make sure to rinse off all traces of the product, including your neck and your eyebrows, leaving your skin feeling clean and refreshed.
Step 7: Pat Dry
Gently pat your face dry with a clean, soft towel. Avoid rubbing, as this can cause unnecessary friction and irritation.
Step 8: Follow with Skincare steps
After cleansing, you may apply a toner that suits your skin type to hydrate and prepare your skin for the next steps of your skincare routine. Be sure to end with your favorite moisturizer to lock in hydration and nourish your skin.
Additional Tips:
1. Cleansing Frequency: For most skin types, cleansing twice a day (morning and evening) is sufficient. However, if you have particularly oily or acne-prone skin, you may benefit from an additional cleanse.
2. Gentle Exfoliation: The combination of AHA, BHA, and PHA in RUWA Foam and Glow Cleanser provides gentle exfoliation. However, avoid using harsh physical scrubs or exfoliants alongside the cleanser to prevent over-exfoliation.
3. Patch Test: Before incorporating any new product into your skincare routine, perform a patch test on a small area of your skin to ensure compatibility and avoid potential allergic reactions.
Conclusion: Cleansing is a step not to be missed in any routine. It lays the foundation for all the other skincare ingredients you apply.


One thought on “The Ultimate Guide to Cleansing”
It seems like a lot of steps, but they are all essential and really take no time. Great point about doing a patch test. You don’t want to put something all over your skin before you know if it will react with your body. And you always want clean skin, but exfoliation sometimes can strip your existing oils that are needed if you do it too often. If you don’t cleanse your skin, your makeup won’t hold, your skin will be more prone to breaking out, and everything else in your skincare routine suffers for it. Always start with a clean face.
You must be logged in to post a comment.